Learning to operate simulation codes to model FFAs will be a significant part of the FFA school. In order to participate in these classes you must install the software before the class.
Three software tools will be studied:
Installing Bmad
To install Bmad, follow the instructions at https://wiki.classe.cornell.edu/ACC/ACL/OffsiteDoc.
To test your installation and become familiar with the environment, follow chapters 5-8, 10, 12, 14, 15, and 18 of the Bmad Tutorial.
Contact for questions and technical support for Bmad is Scott Berg
Installing Zgoubi
In addition to installing Zgoubi on your computer, please read the introductory slides to be ready for the class.
A – Downloading zgoubi package from sourceforge:
1/ on any browser: ‘sourceforge zgoubi’
2/ Once there, on the bar:

click on ‘Code’. That takes you here:
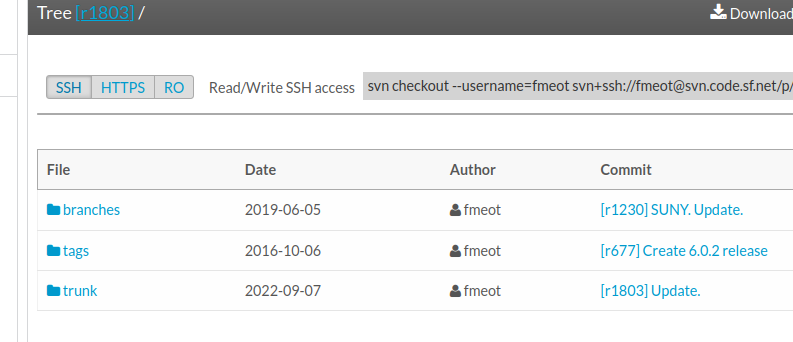
Click on ‘trunk’, that takes you here:
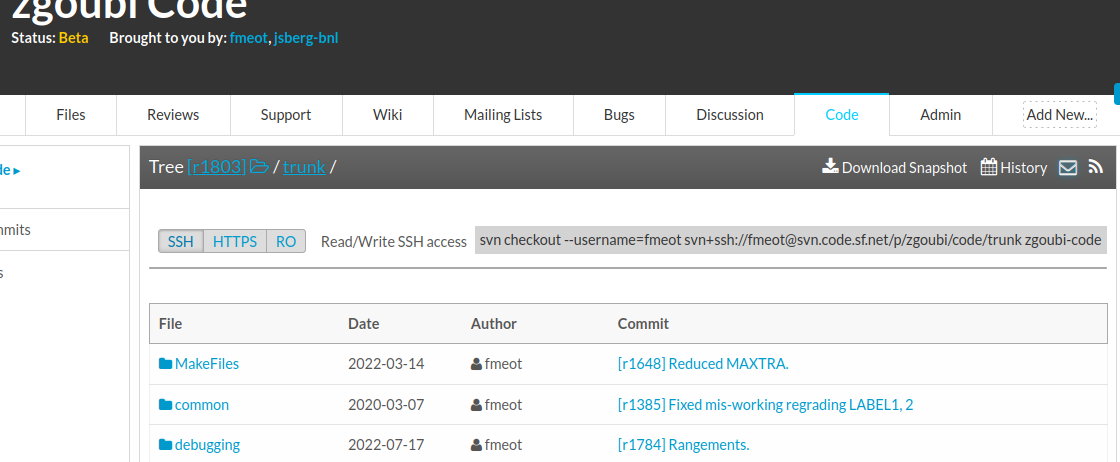
That’s the download you want!
Click on Download Snapshot.
Be patient, you’re downloading zgoubi package which includes ~1GB of examples, from LHC to light sources, to FFAGs and cyclotrons, that takes some time (the code itself is peanuts, ~1MB)
That will get you zgoubi-code-r1805-trunk.zip
You may get ‘r1806’, or ‘r1807’ or higher, instead, if updates have occurred recently, that’s ok, doesn’t matter.
3/ Unzip zgoubi-code-r1805-trunk.zip.
In order to ease communication and file exchanges during the class, you’re encouraged to unzip in a dedicated folder, with name ‘zgoubi’.
You’ll then be facing that zgoubi-code folder content:

4/ Making zgoubi executable:
In there, just ‘make’
(this is a short for ‘make -f Makefile, it assumes Makefile is present here).
This requires gfortran. If you have some other Fortran compiler then substitute in Makefile. Otherwise download one on internet.
You’re done. zgoubi exec is ./zgoubi/zgoubi
Its full address, when used from an arbitrary folder, is [pathTo]/zgoubi-code/zgoubi/zgoubi
B- Testing your install
That’s just a matter of trying an example:
Go in /zgoubi-code/exemples/FFAG/KEK150MeV/analyticalModel/matrix
In there, do [pathTo]/zgoubi-code/zgoubi/zgoubi -in SFFAGCell_MATRIX.dat
That will run the example, results of the execution are (always!) found in the listing zgoubi.res.
Try the following:
diff zgoubi.res SFFAGCell_MATRIX.res
If no difference (or may be just ‘date’), then your install is ok, you’re done, it works.
BTW: you can go through zgoubi.res, find the tansport matrix at the bottom, and figure out (using Zgoubi Users’ Guide and its INDEX) what zgoubi did from top to bottom.
Contact for questions and technical support for Zgoubi is François Meot
Installing OPAL
The OPAL source code, examples, manual and documentation can be found on the OPAL GitLab. The simplest way to install OPAL on your machine is to download the pre-compiled binaries. If you have any questions or problems installing please email me before the workshop.
Of course, OPAL can also be built from source but this is a bit more involved as there are a few dependencies. If you would like to edit the source code and build from source, there are instructions on GitLab.
Install on Linux
Instructions on installing on Linux can be found here.
Install on MacOS
Instructions on installing on Mac can be found here.
Install on Windows
To install on Windows you will need a linux virtual machine. I use the Windows Subsystem for Linux.
By default WSL has very little installed but you can install python, compilers etc using the package manager. Once WSL is installed follow the instructions for installing OPAL on linux.
Python
For the tutorial you will also need a python3 installed. Most linux systems will already have a python3 interpreter, you can check which version of python you have with:
python3 --version
If you do not have a python3 interpreter you can install one with:
sudo apt-get install python3.8 python3-pip
You will also need some common python packages for running the OPAL analysis scripts for the tutorial. Best practice for installing packages is to use a virtual environment. You can create a virtual environment with:
python -m venv /path/to/new/virtual/environment/venv
Activate the virtual environment:
source <path_to_venv>/bin/activate
Then you can update pip and then install the required packages with pip:
pip install --upgarde pip
pip install matplotlib numpy pandas
You can deactivate the environment by entering:
deactivate
(Optional) If you would like to manage multiple versions of python on linux, pyvenv is useful.
MacOS
For MacOS you can install python using the homebrew package manager and follow the same steps as above to make a virtual environment.
Contact for questions and technical support for OPAL is Carl Jolly
